Error 0x80070070 appears when your PC fails to have enough memory required for installation of updates. This specific error avoids Windows 10 Update from installing completely. It is noted that 0x80070070 error might be triggered by inadequate storage on a disk drive, virus infection, audio/video driver corruption or blocked registry.
When prompted with this error code, it’s suggested that you start your troubleshooting guide by ensuring that your drive has enough disk space. If clearing space on the drive does not repair the problem, the problem is likely related to the system reserved partition.
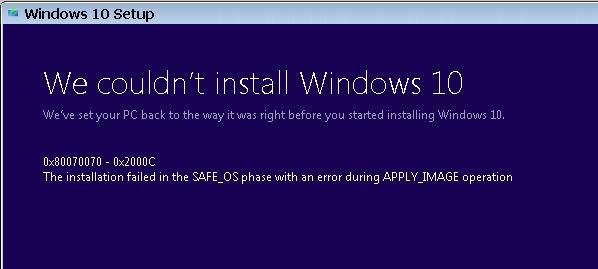
You will face this error when:
- When accessing the Windows update page.
- After a Windows update fails.
- When installing Windows from DVD or USB.
- After upgrade to Windows 10 fails.
Methods to Fix Windows Update Error 0x80070070
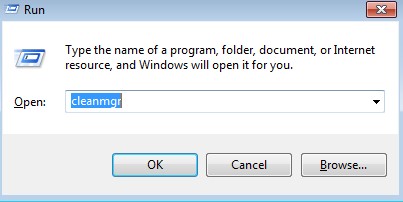
Method 1: Clearing Disk Space
- Press Windows Key + R to open a Run
- Type cleanmgr and hit Enter to open a Disk Cleanup dialog box.
- Click the Cleanup system files You might be asked to provide the admin password at this point.
- You can run the cleanup tool for the file types already selected by clicking Ok. If you need even more free space, you can also check the box next to Windows Update Cleanup, Temporary Files and Windows Update log files.
- Confirm and start the tool by clicking on Delete File.
- Reboot your system and attempt to upgrade or download the update again.
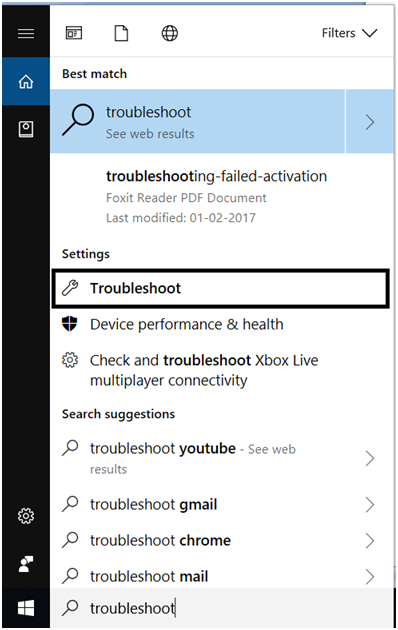
Method 2: Run Windows Update Troubleshooter
Windows Update Troubleshooter is a function, which is used for detection and automatic fix of the operating system.
- Press Windows + X and select Control Panel.
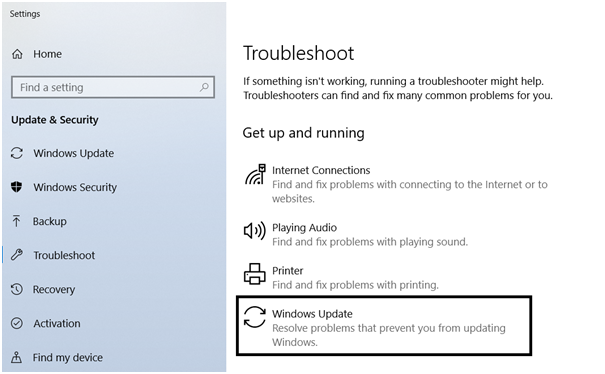
- In the search bar type “troubleshoot”. When Troubleshooting appears on the list, click it.
- Click Fix problems with Windows Updates which is under the System and Security.
Method 3: Run a Full System Scan
In a few of the cases, Windows 10 update error 0x80070070 has actually been caused by virus or malware. If you make downloads regularly then, there is most likely to have a Virus or Malware on your PC. It not just corrupt or jeopardize your documents or media file, but also drops down system performance. For that reason, run a complete system scan with a trustworthy anti-virus and eliminate all infections if it discovers any.
Method 4: Reset Windows Update Components
- Left-click on the Win key and select Command Prompt (Admin).
- Once a run dialogue opens, type the following commands to it and hit Enter after each of them:
net stop wuauserv
net stop cryptSvc
net stop bits
net stop msiserver
- After that, you have to rename SoftwareDistribution and Catroot2 For this purpose, type the following commands in the Command Prompt window and hit Enter after each of them:
ren C:\Windows\SoftwareDistribution SoftwareDistribution.old
ren C:\Windows\System32\catroot2 Catroot2.old
- Finally, you have to launch services that you have turned off by typing the above given commands. Thus, type the following commands in the run dialogue and hit Enter after each of them:
net start wuauserv
net start cryptSvc
net start bits
net start msiserver
- Now you can close Command Prompt window and reboot your PC.
- Hopefully, these methods helped you to fix 0x80070070 error
Method 5: Repartitioning the Hard Drive from Disk Management
- Press Windows key + R to open a Run Window.
- Type diskmgmt.msc and hit Enter to open Disk Management.
- Right-click on C (or whatever your Windows drive is lettered) and click on Shrink Volume. It might take a while for the query to complete.
- Next, use the box next to Enter the amount of space to shrink in MB to extract the space required for the upgrade wizard. Just to be sure, free over 15Gb (15000 MB).
- Next, hit Shrink and wait for the process to complete.
- Right-click on the recovery drive and click on Change Drive Letter and Paths.
- If the drive doesn’t have any letter assigned (usually it’s labeled as D), click on Add and assign the letter G. If the letter D is already assigned, use the Change button to modify it.
- Right-click on the unallocated space that you’ve previously freed from the C drive and select New Simple Volume.
- Follow together with the volume wizard and ensure you make use of all the unallocated space left. When you reach the Assign Drive Letter or Path stage, opt to Assign the following drive letter and choose the letter D from the drop-down menu.
- Click Next at the two following prompts, then click Finish to complete the process.
- Reboot your device and run the upgrade wizard again.
Method 6: Moving the Temp Folder
- Press Win + R to open a Run
- Type sysdm.cpl and hit Enter to open System Properties.
- Under System Properties, Go to the Advanced tab and click on Environment variables.
- Select the Temp folder and click the Edit button.
- Then, use the Browse Directory button to move the Temp folder to another partition where you have more space. Hit Ok to confirm.
- Reboot your system and attempt to perform the update/upgrade again.

 (58 votes, average: 4.09 out of 5)