HAL_INITIALIZATION_FAILED is mostly seen when your system wakes up from sleep stage. It’s likely to be caused by hardware or device drivers problems, and mainly happen to older PCs.
Methods to Fix HAL_INITIALIZATION_FAILED error
Method 1: Update all Drivers
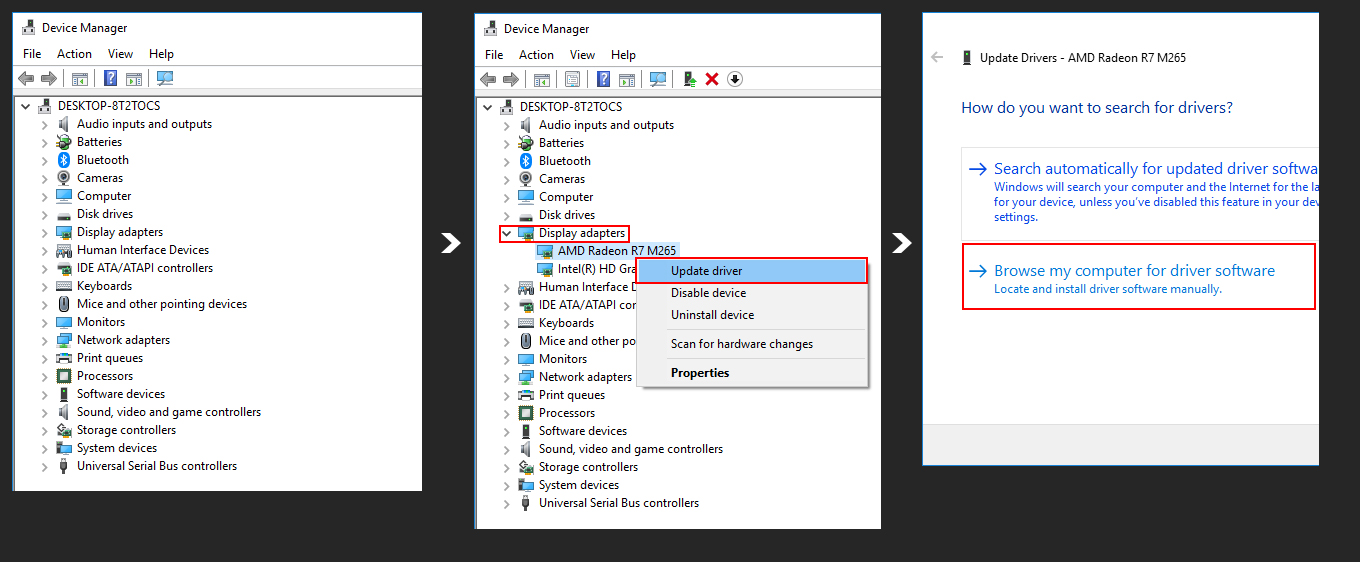
Although this step by step procedure explains how to update your Graphics Card Drivers, this method can be used to update any driver you want.
1. Press Win key, type Device Manager and select the first option from the search results.
2. Expand Display Adaptors.
3. Click Action tab and select Update Driver Software.
4. After that, select Browse my computer for driver software and select High Definition Audio Device driver from the list.
5. Click Next and then Yes.
6. When the process is finished, restart your PC.
Method 2: Clean Junk Files
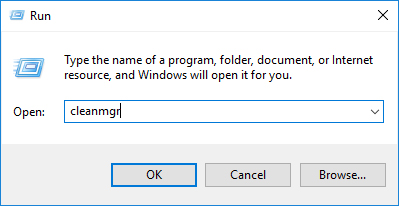
1. Press Windows key + R simultaneously.
2. Type cleanmgr and hit Enter.
3. Then select OS partition (C:) and press OK.
4. Mark the Setup log files, Recycle bin, and Temporary files.
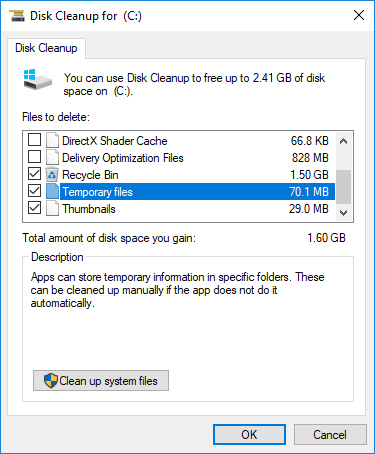
5. Finally, select Clean up System Files and wait for the process to finish.
Method 3: Set useplatformclock to True
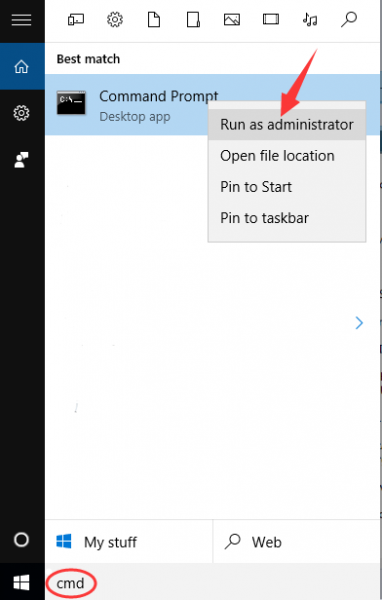
1) Type cmd into the search box and then right click on the Command Prompt option that comes up and choose Run as administrator.
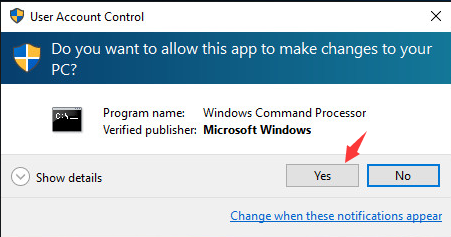
2) Choose Yes at the prompt window.
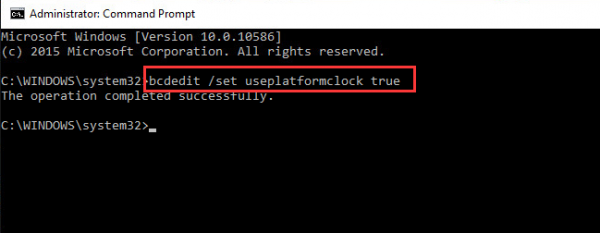
3) Then type in the command bcdedit /set useplatformclock true. Please note that there is a blank space before the “/”.
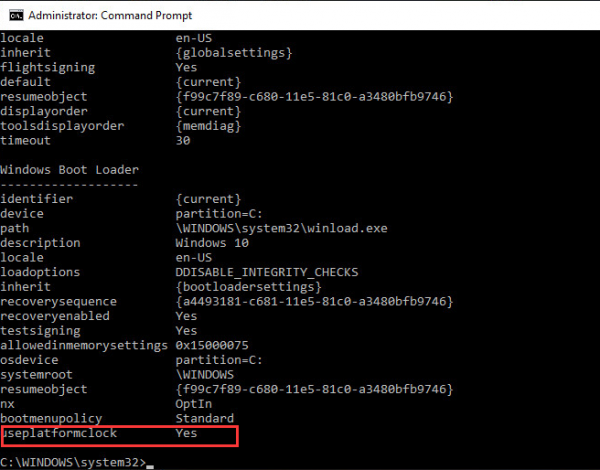
4) To verify the useplatformblock is on/ true, please run the following command bcdedit /enum. There is a space before the”/” also.
If you can see the useplatformclock Yes in command prompt, then you can be sure that this process has been done.
5) Restart your computer after this change to see if the problem is gone.
Method 4: Check Hard Disk Corruption
1. Boot from your Windows install disc.
2. Click on Repair your computer after selecting proper language, time and keyboard input.
3. Select the Windows installation drive, which is usually C:\ , and click Next.
4. Choose Command Prompt when the System Recovery Options box appears.
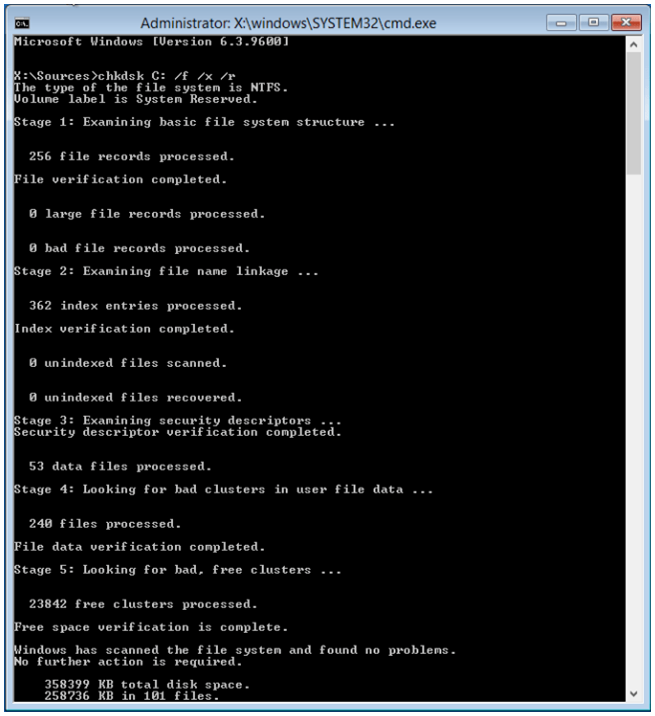
5. Write “chkdsk: /f /x /r” and press Enter.
Replace C: with the letter of the driver where Windows is installed.
 (0 votes, average: 0.00 out of 5)