Lately, Windows users are complaining that their “NVIDIA control panel missing”. In fact, It’s all happening due to most current Windows Security Update. NVIDIA control panel is very useful given that you can modify your graphics settings with it. NVIDIA Control Panel is a hardware control application developed by NVIDIA. When an NVIDIA video card driver is installed on a computer system, a Control Panel will automatically come with the driver. It provides NVIDIA video card users with an interface to change the driver settings and alter the configuration of their NVIDIA hardware.
You cannot adjust your NVIDIA graphics preferences without this Control Panel. And you might want to get a method to bring it back. Here are some reliable methods to help you solve the NVIDIA Control Panel missing problem.
Fixing NVIDIA Control Panel Missing
Method 1: Uninstall and Reinstall NVIDIA Graphics Driver
The NVIDIA Control Panel missing or not opening problem could be triggered by driver incompatibility, and you can try to uninstall your NVIDIA graphics driver and after that go to NVIDIA’s website to look for the ideal driver and then manually download and install it.
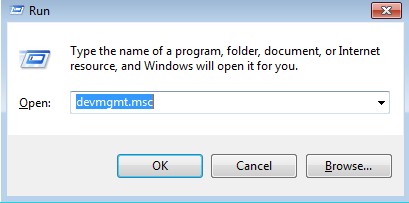
- Press Windows + R to open the Run
- Type devmgmt.msc and hit Enter to open Device Manager.
- Expand the Display Adapters
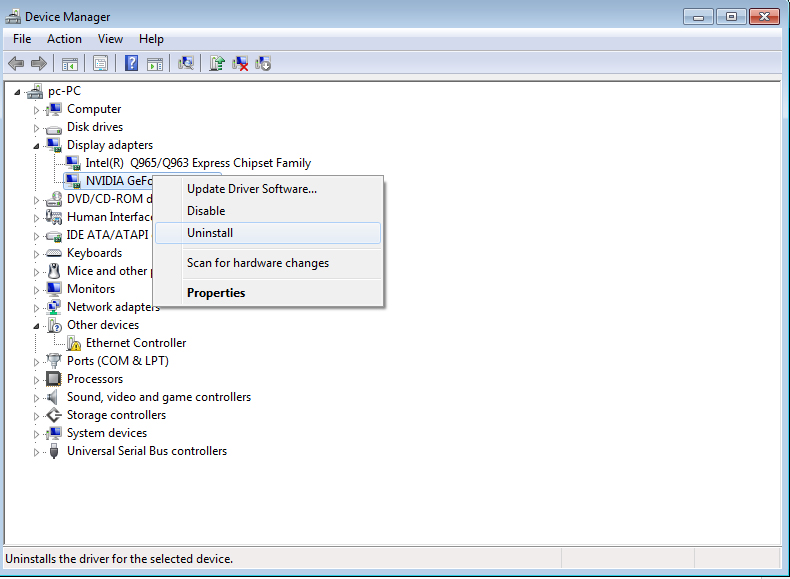
- Right-click on the NVIDIA driver and then select Uninstall.
When the uninstallation process of the NVIDIA graphics driver is finished, remember to restart the system.
Method 2: Unhide your NVIDIA Control Panel
Your NVIDIA Control Panel might be hidden by Windows at the time of the upgrade from a previous version or by software application that has mistakenly altered the graphics settings.
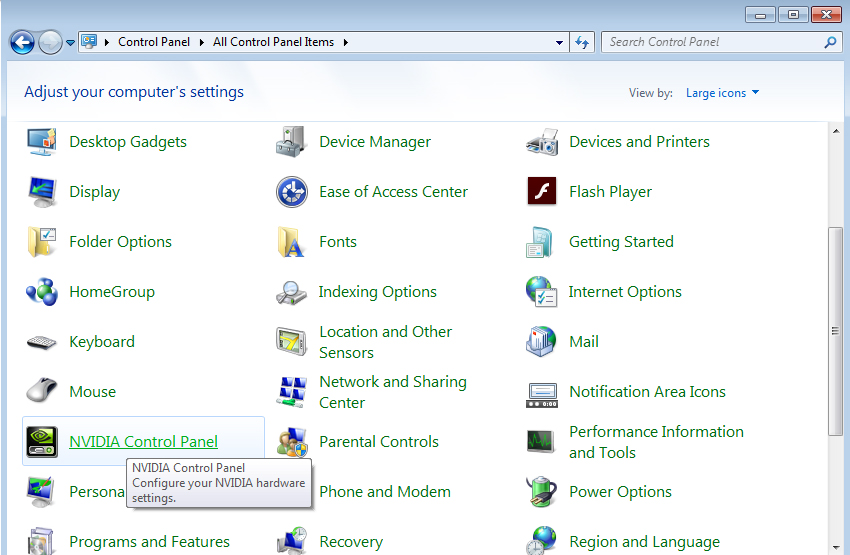
- Open Control Panel.
- In Control Panel, under View by, select Large icons.
- Select NVIDIA Control Panel.
- In NVIDIA Control Panel, click View or Desktop, and then check Add Desktop Context Menu.
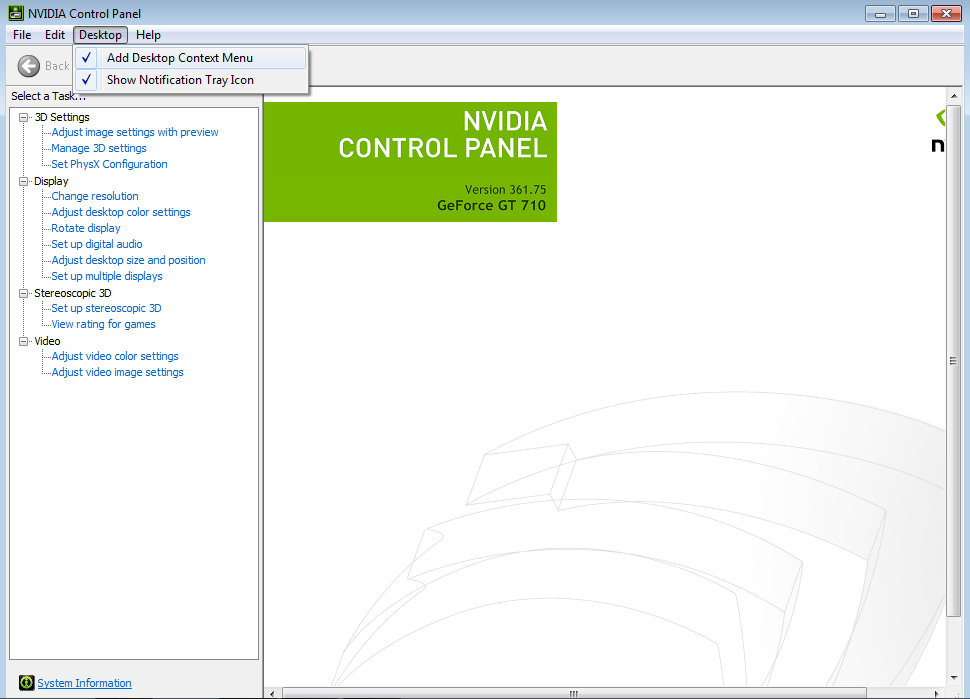
- Right-click your desktop and see if your NVIDIA control panel reappears in the desktop context menu.
Method 3: Restart NVIDIA Services
If NVIDIA services have gone corrupt, restarting them is a good way to solve the problem no matter what caused the issue in the first place.
- Open Run dialog box by pressing Win + R key together.
- Type services.msc in the dialog box.
- Navigate to the Services tab in Task Manager and click on Open Services at the bottom of its windows, next to the gears icon.
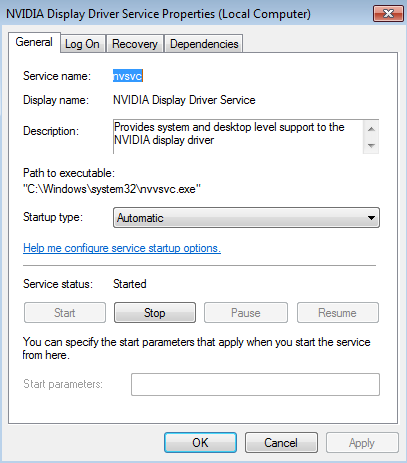
- Right-click on the service and click on Properties.
- NAvigate to the Startup type and set it to Automatic if it’s not set already. Click the Stop button to stop the service and wait for a minute. Click Start after a while and confirm the dialog boxes which may appear.
- Check if the issue with the Control Panel is gone.
Method 4: Update Graphics Driver
In many cases, NVIDIA Control Panel disappears since you are using the improper graphics driver or it is out of date. So you need to confirm that your graphics adapter has the appropriate driver, and update it if it does not. To fix the graphics driver problem rapidly, you can go to NVIDIA’s Driver Downloads page to search for the right driver and after that manually download and install it on your PC, however it is complicated and takes quite an amount of time.
Method 5: Modify Registry Subkeys and Values
According to some Windows users, the missing registry subkeys and values might likewise lead to the NVIDIA Control Panel missing issue from the context menu.
- Create a blank document with Notepad, and paste the following into the text file:
Windows Registry Editor Version 5.00
[HKEY_LOCAL_MACHINE\SOFTWARE\NVIDIA Corporation\NvTray]
[HKEY_LOCAL_MACHINE\SOFTWARE\NVIDIA Corporation\NvTray\0_nvupdt.dll]
“FullPath”=”C:\\Program Files\\NVIDIA Corporation\\Update Core\\NvGFTrayPlugin.dll”
- Save it with the .reg
- Double-click the .reg file to run it and all the necessary keys and values will be added.
- Reboot your PC.
Method 6: Fix the Problem with NVIDIA Control Panel Simply not Launching
- Navigate to “C:\Program Files\NVIDIA Corporation\Display.NvContainer”, right click on the “NVDisplay.Container.exe” file and select Copy from the context menu.
- Open the Run dialog box. Type in shell:startup in the dialog box and click Enter.
- It should the open “C:\Users\naoda\AppData\Roaming\Microsoft\Windows\Start Menu\Programs\Startup” Paste the “NVDisplay.Container.exe” as a shortcut in this folder.
- Finally, right-click on “NVDisplay.Container.exe” shortcut you just made, go to Properties, and navigate to the Shortcut tab.
- In the Shortcut Tab go to Advanced and check the “Run as Administrator” Confirm the changes, navigate to the Compatibility tab and check “Run This Program as Administrator”.
- Click on Apply and then OK.
Method 7: Don’t Overclock your GPU
Overclocking your GPU often triggers these errors. This can provide your PC a significant speed boost however you need to definitely careful because there were occasions where entire PCs went down in flames after users overclocked them way too much.
Stop overclocking your graphics card and check to see if Control Panel re-appears.
Method 8: Turning off GPU Virtualization
If your motherboard is equipped with the onboard GPU, there’s possibility that the GPU Virtualization related to the VirtuMVP software on your computer triggers the NVIDIA Control Panel missing..
- Open VirtuMVP control panel. The VirtuMVP icon shall be next to your clock in the system tray.
- In the main tab, locate the GPU Virtualization option and turn it off to fix the NVIDIA control panel missing or not working issue.

 (55 votes, average: 4.85 out of 5)