There are many problems that can be caused by Blue Screen of Death errors on Windows 10, and unfortunately these types of errors can be sometimes hard to fix.

Pnp_detected_fatal_error
Pnp_detected_fatal_error is a blue screen error and it can cause a lot of issues on your PC. This error can be rather annoying since it will force your PC to suddenly restart.
Following are the issues related to PnP:
– Problem with PnP devices Windows 10
– Pnp blue screen
– BSOD pnp_detected_fatal_error
– Pnp_detected_fatal_error Norton, ntoskrnl.exe
– Pnp_detected_fatal_error after Windows update
– Pnp_detected_fatal_error Windows 8.1, Windows 7
But there’s no need to worry about the error as we’ve got it covered for you. How? you ask? Have a look at the methods to fix the error.
Methods to fix Pnp_detected_fatal_error
Method 1: Run System Restore in Safe Mode
Safe Mode is an excellent troubleshooting mode for Windows. System Restore may operate in Safe Mode. If it operates in Safe Mode, you can then likewise restore Windows to a date when System Restore was working fine.
- Press the Power button on the Start menu.
- Hold the Shift key and then select Restart.
- Windows will reboot and open its Advanced Startup Options. Press the Troubleshoot button and select Advanced options to open further settings.
- Select Startup Settings and press the Restart button to reboot.
- Press the 4 key to start Windows in Safe Mode.
- Enter ‘System Restore’ in Cortana’s search box. Select Create a restore point to open the window directly below.
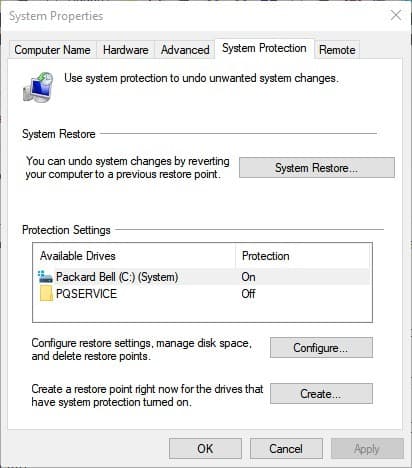
- Press the System Restore button to open the window below.
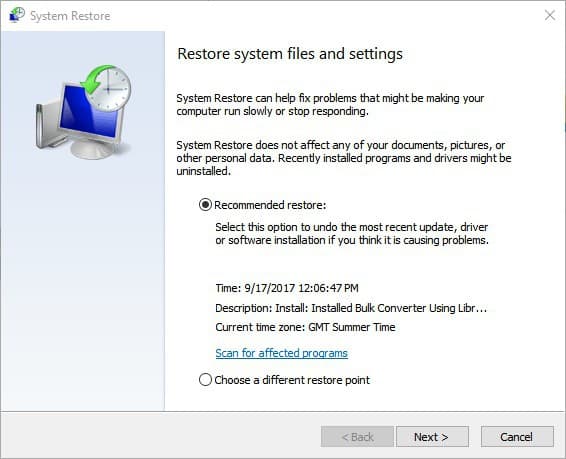
- Now select Choose a different restore point, and click the Next button.
- Select a listed system restore point, and press the Next and Finish.
Method 2: Run System File Checker
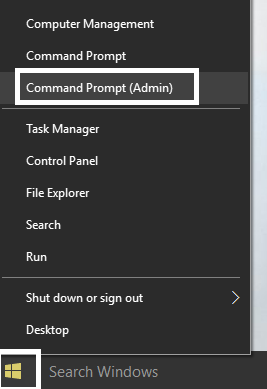
- Press Windows Key + X then click on Command Prompt(Admin).
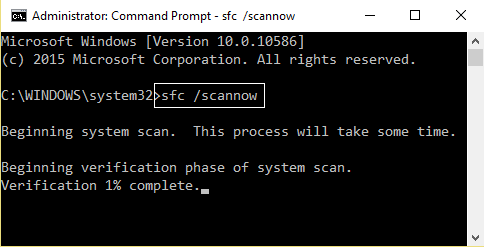
- Now type the following in the cmd and hit enter:
Sfc /scannow
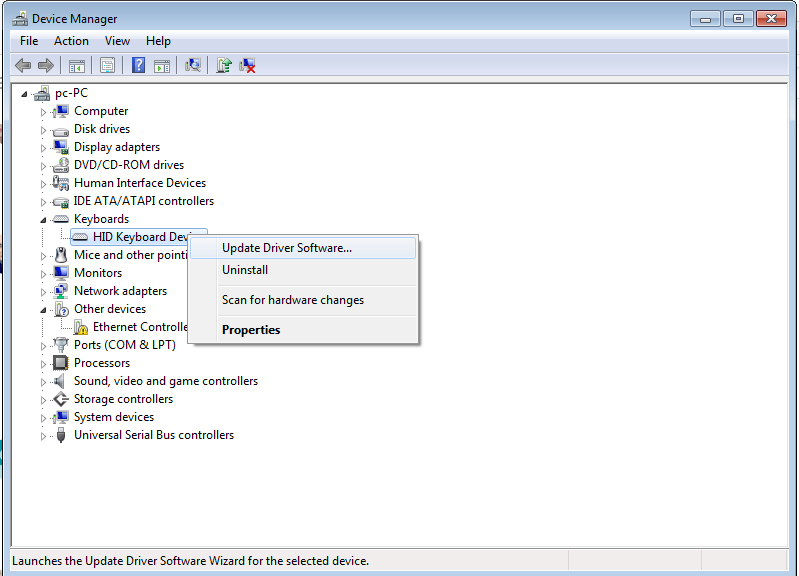
Method 3: Uninstall faulty drivers
To manually uninstall a driver, follow these steps:
- Click on the search bar.
- Type in devmgmt.msc in the search box.
- Click devmgmt from results list.
- Right-click on the driver.
- To update the driver, select Update Driver Software.
- To disable the driver, select Disable.
- To uninstall the driver, select Uninstall.
Method 4: Clean Out Your System Junk with Disk Cleanup (cleanmgr)
- Click the Start button.
- Type “command” in the search box… DO NOT hit ENTER yet!
- While holding CTRL-Shift on your keyboard, hit ENTER.
- You will be prompted with a permission dialog box.
- Click Yes.
- A black box will open with a blinking cursor.
- Type “cleanmgr” and hit ENTER.
- Disk Cleanup will begin calculating how much occupied disk space you can reclaim.
- The Disk Cleanup dialog box will appear with series of checkboxes you can select. In most cases, the “Temporary Files” category will occupy the most disk space.
- Check the boxes of the categories you want to clean and click OK.

 (55 votes, average: 4.70 out of 5)