RAVBg64.exe is a type of EXE file which is an audio background process that allows you to connect audio and communication applications with Realtek audio driver. Users experienced that Ravbg64.exe process takes high CPU usage and because of its high CPU usage users think that Ravbg64.exe as a virus but it is not a virus.
Many users also reported that Ravbg64.exe is trying to use Skype whenever you launch Skype. This is not a serious problem but it can be very irritating as the pop will appear every time you start Skype.
Methods to Fix High CPU Usage by Ravbg64.exe
Restart Realtek Audio Programs
- Press Windows + R on your keyboard to open Run dialog box.
- Type msconfig and hit Enter.

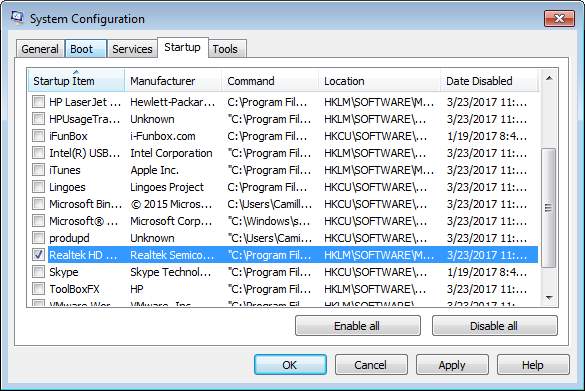
- In the Startup tab locate Realtek.
- Check the box next to Realtek startup items and then click on Disable all and then OK.
- Now, open Device Manager by pressing Windows + X and selecting Device manager form the list.
- Expand Sound, video and game controllers category.
- Right click on Realtek audio device and select
- Repeat the above steps to enable Realtek startup items and Realtek audio device.
- Restart your system.
Add Registry Keys
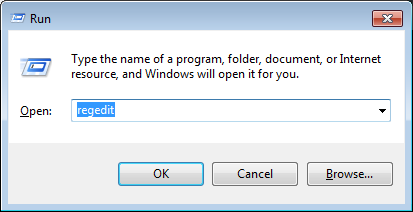
- Press Windows + R on your keyboard to open Run dialog box.
- Type regedit, and press Enter.
- Go to HKEY_LOCAL_MACHINE/SOFTWARE
- Find key SRS Labs under SOFTWARE.

- If you don’t find the key, right-click on Software and select New and then select
- Name the key as SRS Labs.
- After the key is created, right-click on it and select Add -> Subkey.
- Rename it as APO.

- Close the Registry Editor and restart the computer.
Update Realtek Audio Driver
Update the realtek audio drivers by going to your PC manufacturer’s website or Realtek’s official website and download the latest audio driver.
Methods to Fix Ravbg64.exe Trying to Use Skype
Install the Latest Version of Skype
If you a get message saying Ravbg64.exe is trying to access Skype, you should check for updates and install the latest updates if you find any.
Reset Skype Settings
- End all Skype processes in Task manager.
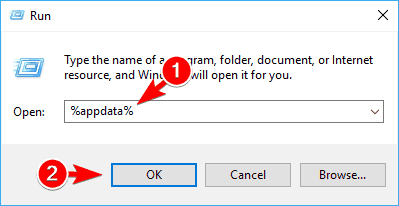
- Press Windows + R on your keyboard to open Run dialog box.
- Type %appdata% and press Enter.
- Navigate to Skype directory, right click and select Rename.
- Change the name to Skype_old.
- After renaming, start Skype again.
Change Skype’s Settings
- Open Skype and click on Tools, present in top right and select Options.
- Go to Advanced settings and click on Manage other programs’ access to Skype.
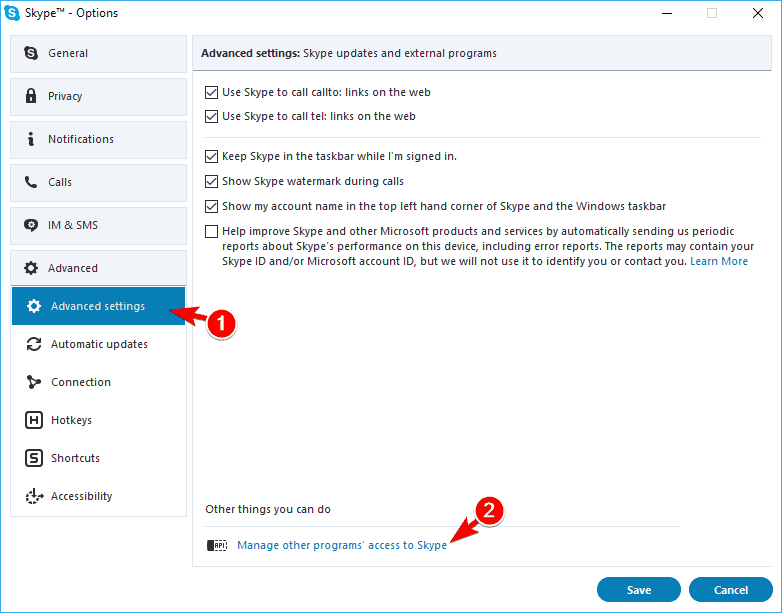
- Select RavBG64.exe and click on Change.
- Now select Allow and click on OK.
- Click on Save.


 (14 votes, average: 2.71 out of 5)