Many People have upgraded their Windows 8.1 or windows 10 successfully but some may have come across System thread exception not handled error message appearing on your display alongside BSoD. Some users have reported that they get this error immediately after their windows start, while some encounter this 10 to 15 seconds after their windows start.
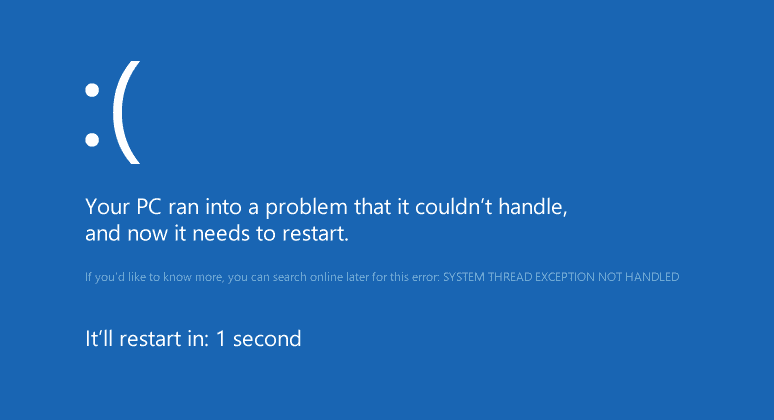
After the BSoD is displayed with System Thread Exception Not Handled error, even if the computer is powered off and then powered back on, it keeps getting restarted after every few seconds.
System thread exception not handled error occurs mainly due to outdated, corrupted or incompatible driver. If a recently installed program or a driver caused this issue, let’s uninstall it and replace it with the new one, or upgrade to the latest version.
How to Fix SYSTEM THREAD EXCEPTION NOT HANDLED Error?
Method 1: Run the BSOD troubleshooter
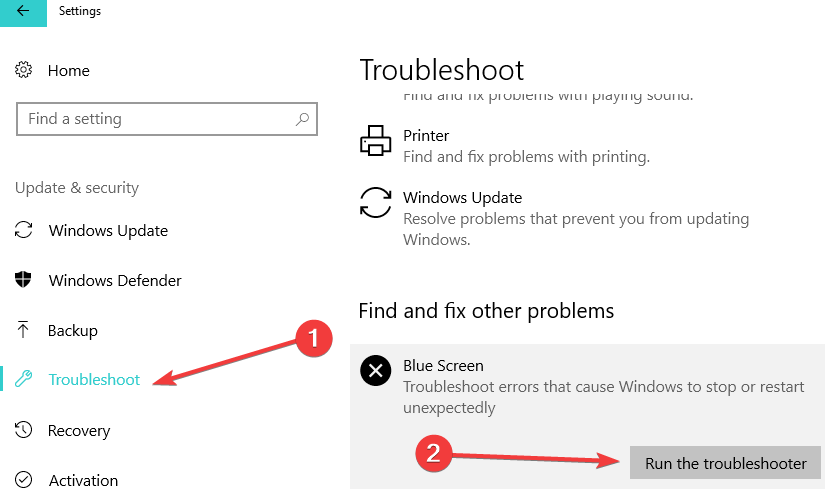
BSOD error are pretty common on Windows computers. For this reason, Microsoft added a very useful Blue Screen troubleshooter on the Settings page.
- Go to Settings.
- Choose Update & Security > Troubleshoot.
- Select and run the Blue Screen troubleshooter.
Method 2: Update Driver that is Causing the Problem
To obtain an updated version of drivers, visit your graphic card manufacturer’s site. Look for latest and download the suitable drivers compatible with your operating system and system type (x64 or x86). To know them both, hold Windows key and press R, type msinfo32 and press Enter. To recognize the driver that might trigger the issue follow these steps:
- Press the Windows + R key altogether to invoke the Run
- Type cmd and press Enter.
- Type eventvwr and press Enter.
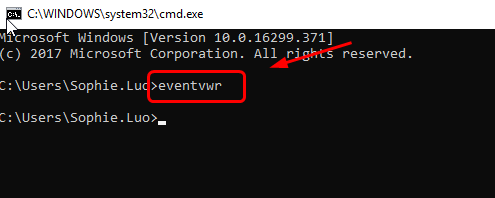
- Expand Windows Logs, then click System.
- Click the Source You can now see what driver exactly is causing the System Thread Exception Not Handled error.
- When you identify the driver that causes the problem, go ahead and update it.
Method 3: Rename the Faulty Driver
- Open Command prompt with administrative rights.
- Type the following commands, and press Enter after each:
c:
dir
- If the dir command shows a folder named Windows then it is the target drive. If not, type d: and press Enter.
- Now type the following commands and press Enter after each line:
cd windows\system32\drivers
ren drivername.sys drivername.old
- Restart your system. The driver which we deleted will be installed automatically.
If the driver is not deleted automatically then follow these steps:
- Press Windows + R. Type msc and press Enter.
- The uninstalled device driver will have a yellow exclamation mark. Right click on it and click Update Driver Software.
- Click Search automatically for Updated Driver Software. Windows will search for the driver online and install it once it finds it
Method 4: Boot in Safe Mode and Uninstall Display Driver
Restart your Windows computer and insert Windows bootable media into optical media drive (CD/DVD Drive).
- On the displayed Windows Setup box, click Next.
- On the next page, click Repair your computer.
- On Choose an option screen, click Troubleshoot.
- On Troubleshoot screen, click Advanced
- On Advanced options screen, click Command Prompt.
- On the opened Command Prompt window type C: and hit Enter.
- On C: prompt, type BCDEDIT /SET {DEFAULT} BOOTMENUPOLICY LEGACY command, and press Enter to enable legacy advanced boot menu.
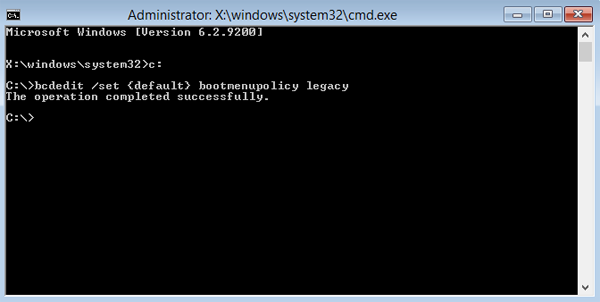
- Once the command executed successfully, type EXIT command to close the Command Prompt window.
- Back on the Choose an option screen, click Continue to restart computer.
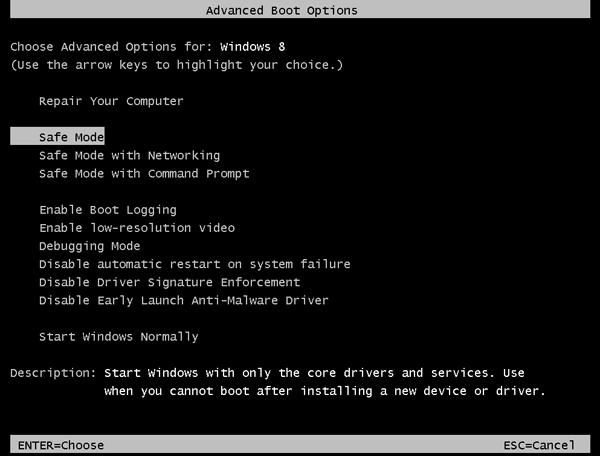
- As the system restarts, press F8 key continuously to display the Advanced Boot Options
- On Advanced Boot Options screen, make sure that Safe Mode option is selected and press Enter
- Log on to Windows 8/10 computer with the account that has the elevated privileges.
- Click Desktop tile from the Start screen to go to the desktop screen.
- Once on the desktop screen, hover mouse to the bottom right corner of the window.
- From the displayed options, click Settings.
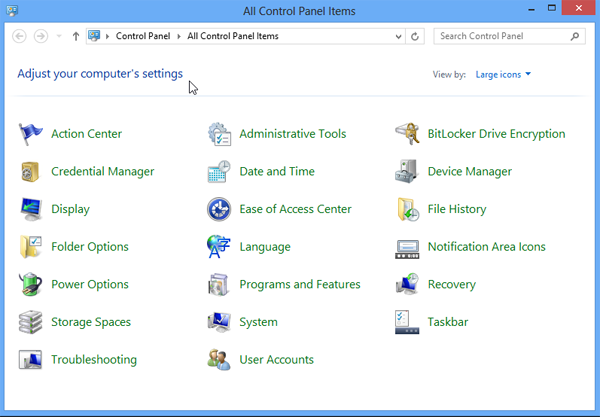
- On the Settings pane, click Control Panel.
- On the opened All Control Panel Items window, click Device Manager.
- On Device Manager window, expand Display adapters
- Once expanded, right-click the graphics driver that is to be uninstalled.
- From the context menu that appears, click Uninstall to remove the selected graphics driver.
- On Confirm Device Uninstall box, click OK to confirm the graphics driver uninstallation.

 (56 votes, average: 4.79 out of 5)