One of the most common problem with Windows File Explorer is that it keeps on crashing. Whenever a user tries to open or right clicks on a folder or file the file explorer crashes. It can also happen when a user ties to search in file explorer. This issue was there with Windows 7 and it seems like it persist in Windows 10. Windows Explorer Keeps Crashing is a very annoying problem as it does not let you open the desired file or folder. So, here are some methods given below to solve this problem.
Method 1: Clear File Explorer History
- Type control in the search box and click on Control Panel.
- In the Control Panel window type file in the search, in the top right corner.
- Click on File Explorer options.
- Clear to Clear. Then click Apply > OK.
- Open your File explore to check if it is working properly.
Method 2: Run Netsh and Winsock Reset
- Type cmd in the search box. Right click on Command Prompt from results and select Run as Administrator.
- Type the following commands and press Enter:
netsh winsock reset
- Reboot your computer.
Method 3: Launch Folder Windows in a Separate Process
- Type control in the search box and click on Control Panel.
- In the Control Panel window type file in the search, in the top right corner.
- Click on File Explorer options.
- Click on View tab.
- Check the option Launch folder windows in a separate process in Advanced settings.
- Click Apply > OK.
Method 4: Disable Thumbnails
- Type control in the search box and click on Control Panel.
- In the Control Panel window type file in the search, in the top right corner.
- Click on File Explorer options.
- Click on View tab.
- Under Advanced Settings click on the box next to Always show icons, never thumbnails.
- Click Apply and then OK.
Method 5: Give Full Permissions to your Account to Access Folder Content
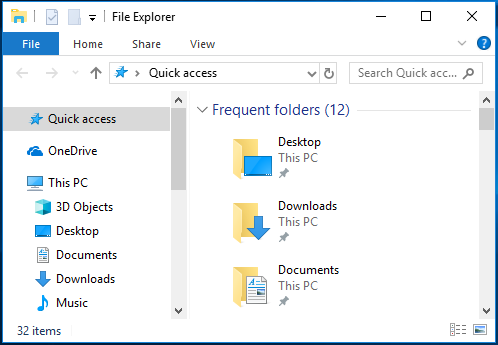
- Open File Explorer.
- Right-click any folder and select Properties.
- In Security tab and click on Advanced.
- Click on Change.
- Enter your user account name and click on OK.
- In Advanced Security Settings. Check the box beside Replace owner on subcontainers and objects. Click OK.
- Right-click on the folder whose full access you want to give to your account. Select Properties.
- Navigate to Security tab and click on Advanced.
- In Advanced Security Settings window, click on Add.
- Click on Select a principal. Enter account name.
- Set the Type to Allow.
- Check the box next to Full Control under Basic permissions.
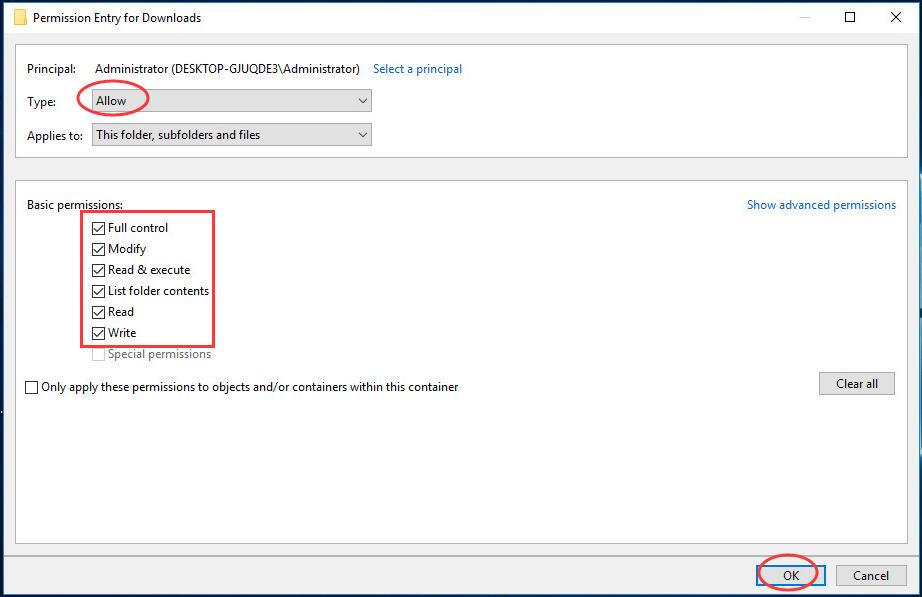
- Click OK.
Rate this Article:  (0 votes, average: 0.00 out of 5)
(0 votes, average: 0.00 out of 5)