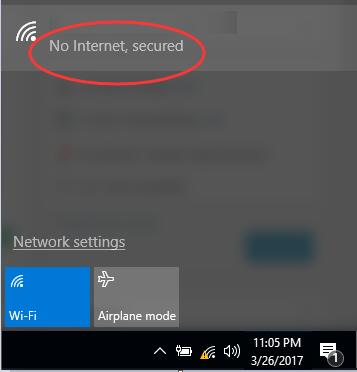
Many Windows 10 user are experiencing a problem where they are unable to connect to the internet over Wi-fi. This happened after the Windows 10 Creators Update or the Windows 10 Fall Creators Update. Users encountered error message No Internet, Secured which is in most cases caused by an invalid IP configuration.
Here are some solutions to resolve this issue.
Network Troubleshooter
- Press Windows + I to open the Settings app.
- When Settings app opens, go to Update & Security.

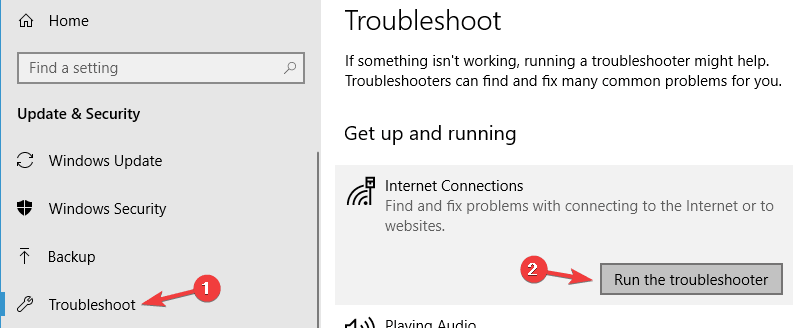
- Select Troubleshoot from the menu on the left and then select Internet Connections.
- Now choose Run the troubleshooter.
- Once the troubleshooter is finished, check if the problem is still there.
Update Your Device Driver
- Press Win + X and select Device Manager.
- On the Device manager window, double click on the Network Adapter to expand it.
- Locate the network adapter, right click on it and then choose Update driver.
- Go on to choose Search automatically for updated driver software.
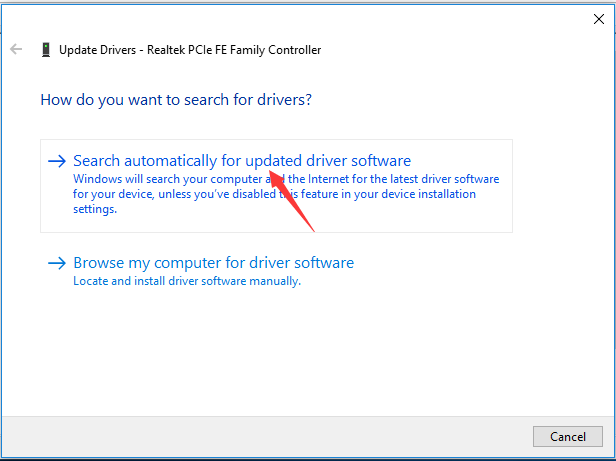
- Then Windows will search the update for you automatically.
Reset Connection to Internet
- Click on the Network icon in your computer’s notification area.
- Locate and click on the Wi-Fi network you are connected to that is affected by this problem, and click on Forget.
- Unplug all Ethernet cables plugged into the computer.
- Enable Airplane Mode on the computer.
- Restart the Wi-Fi router.
- Disable Airplane Mode on the computer.
- Click on the Network icon in the computer’s notification area and connect to the Wi-Fi network.
Change Adapter Settings
- Go to Properties of the Network Adapter and look for a wireless adapter that is currently running.
- Search for the Internet Protocol Version 6 (TCP/IPv6) and uncheck IPv6 to disable it.
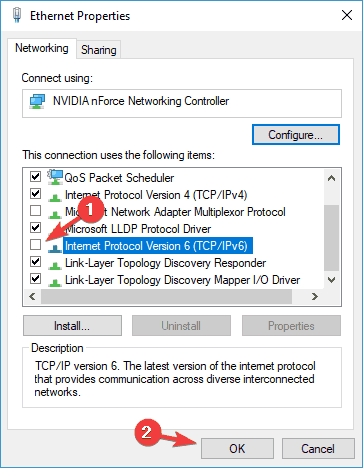
- Click on OK and restart the computer.
Reset Network Configuration
- Press Win + X and select Windows Powershell (Admin).
- Run the following commands one by one:
netsh winsock reset
netsh int ip reset
ipconfig /release
ipconfig /renew
ipconfig /flushdns
- After running these commands it will reset your network configuration.
Check These Windows Services
TCP/IP NetBIOS Helper service
Wireless lan
DHCP
DNS Client
Function Discovery Resource Publication
SSDP Discovery
UPnP Device Host
To check these service:
- Press Windows + R key at the sametime, type services.msc in the Run dialog box and hit Enter.
- Check the services above one by one.
- Take any service and check if its status is Running.
- If not, right-click on the service and click Start.
- Do this for all the services mentioned above.
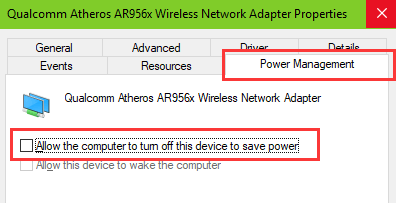
Modify Power Management Properties
- Press Win + X and select the Device Manager.
- Expand the Network adapters entry.
- Double-click your wireless network device.
- Go to the Power Management tab.
- Uncheck the Allow computer to turn off this device to save power.
Uninstall and Reinstall Computer’s Network Adapter
- Right-click on the Start Menu button click on Device Manager.
- In the Device Manager, double-click on the Network adapters section to expand it.
- Locate the network adapter, right-click on it and click on Uninstall.
- Check the Delete the driver software for this device option click on OK.
- Wait for the network adapter and its driver software to be completely uninstalled.
- After that click on Action > Scan for hardware changes. Windows will automatically detect and reinstall the network adapter and its drivers.
- Wait for the network adapter and its drivers to be reinstalled, and then restart the computer.
Rate this Article: 

 (67 votes, average: 1.60 out of 5)
(67 votes, average: 1.60 out of 5)