Recently, many users reported that they are facing error code 0x8024a112 after installing the Windows update. This error has occurred primarily amongst the users who joined in the Windows 10 Insider program. Users are reporting that the lost the ability to restart their system.
Every restart attempt ends up failing with the following error text:
We’re having trouble restarting to finish the install. Try again in a little while. If you keep seeing this, try searching the web or contacting support for help. This error code might help: (0x8024a112)
If you are also struggling with this update issue, this post may be your savior.
Solutions
Run Windows Update Troubleshooter to Fix 0x8024a112 Error
To troubleshoot the 0x8024a112 error on Windows 10, you can try to run Windows Update troubleshooter at first. This is the most common way to resolve Windows update issues. Go the following steps:
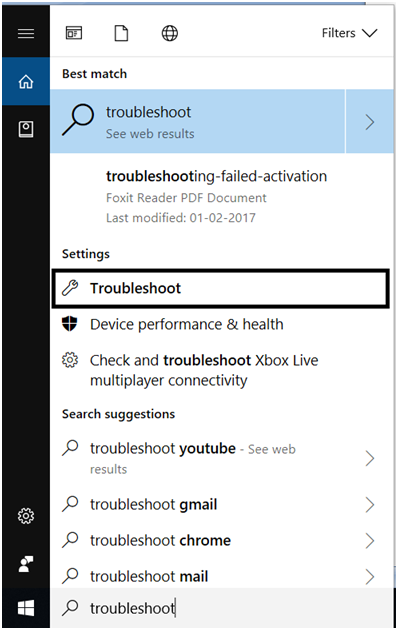
Type “Troubleshoot” in the search bar and then select Troubleshoot in the search result.
Scroll down to find Windows Update and click on it.
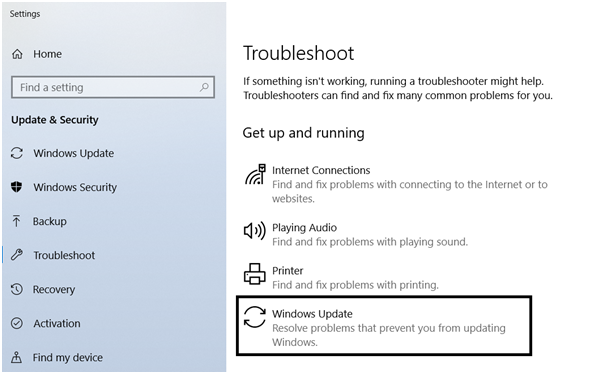
Select Run the troubleshooter. Let the troubleshooter do the job for you and the problem and if it doesn’t check out the next method.
Modifying the Startup type of Task Scheduler
Some users have also reported that the issue was caused by a broken Task Scheduler. You can fix the error using registry editor by enabling task scheduler
- Open a Run box by pressing Windows key + R. Then, type “regedit” and hit Ctrl + Shift + Enter to open Registry Editor with administrative privileges.
- In Registry Editor, use the left-hand pane to navigate to HKEY_LOCAL_MACHINE \ SYSTEM \ CurrentControlSet \ Services \ Schedule.
- Then, move over to the right-hand pane and double-click on Start. Then in Start DWORD, change the Base to Hexadecimal and the Value data to 2. Hit Ok to save.
- Restart your device and see if you are able to update without the 0x8024a112 error code at the next startup.
Perform a Clean Boot
A clean boot is a procedure in Windows that starts your PC in a clean state without running any user-installed software. In order to successfully perform a clean boot on Windows 10, you have to be logged on as the administrator, and then follow these steps:
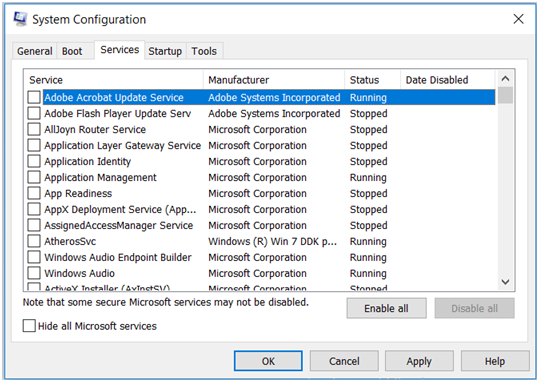
- Use shortcut key Windows + R to open the Run dialog box. Type “msconfig” in it and click OK or hit Enter.
- Find Services tab, and then select Hide all Microsoft services box
- Click Disable all

- Finally, click ok and reboot your PC
Remove the Content of the Software Distribution Folder and Reset It
This is also widely used method to solve this windows update error. Though the process is a little complex, but be with us, we will work you out through the entire process step by step.
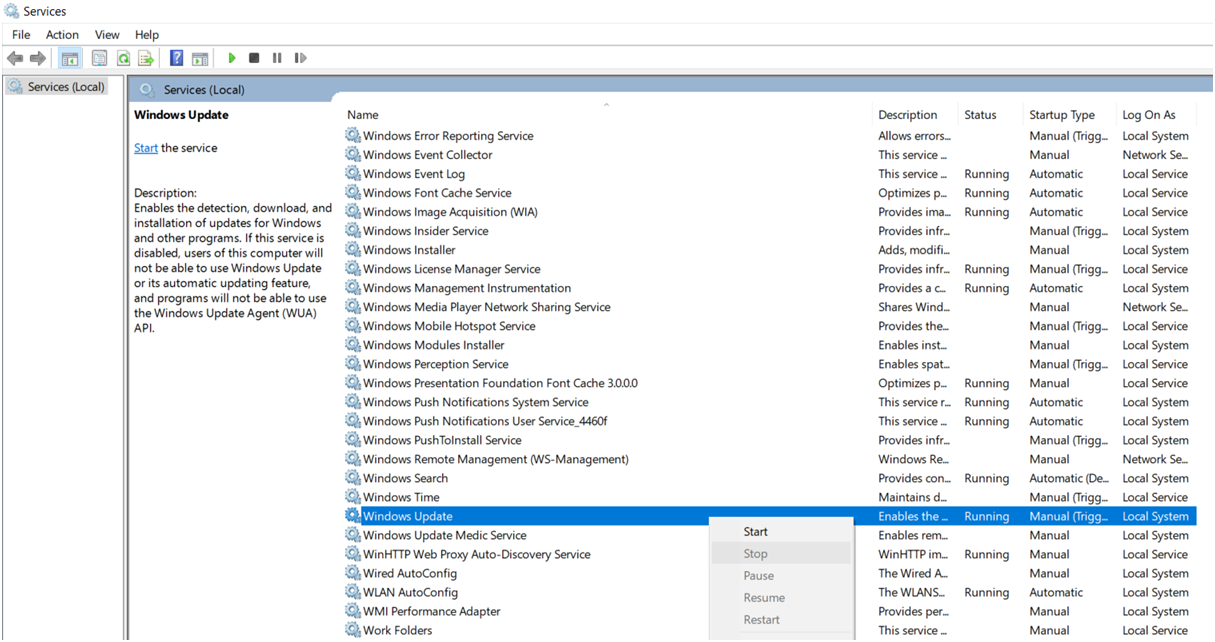
Step 1: Use shortcut key Windows + R to open the Run dialog box. Type “services.msc” in the box and hit Enter.
Step 2: Scroll down to find Background Intelligent Transfer Service and right click it to choose Stop.
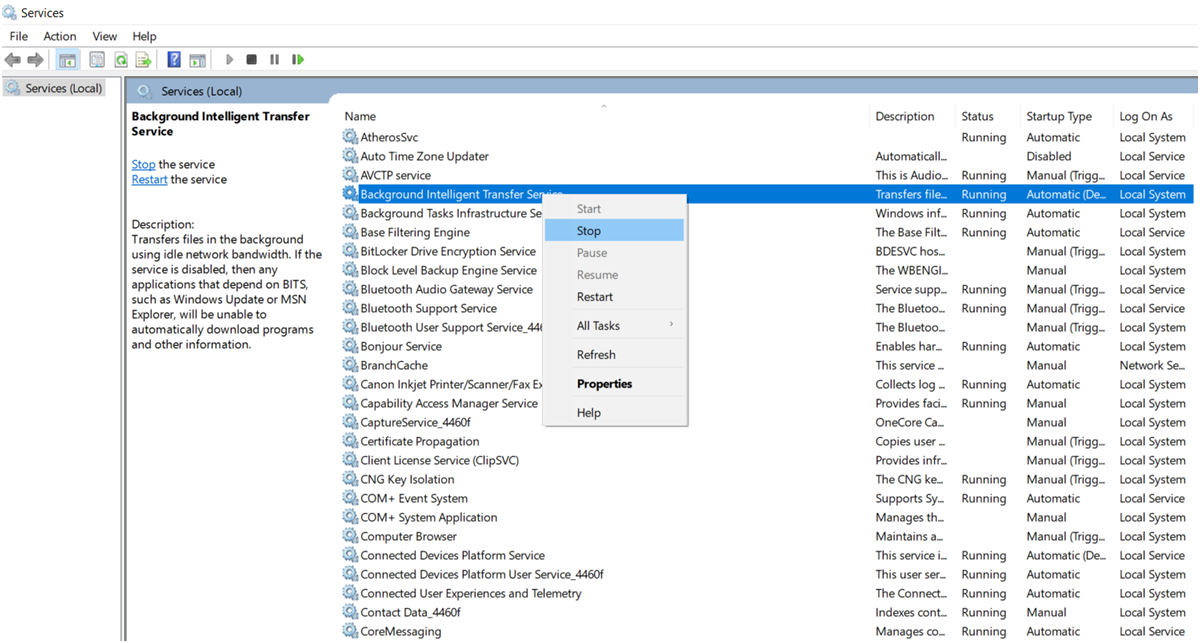
Step 3: Then find Windows Update, right click it and choose Stop.
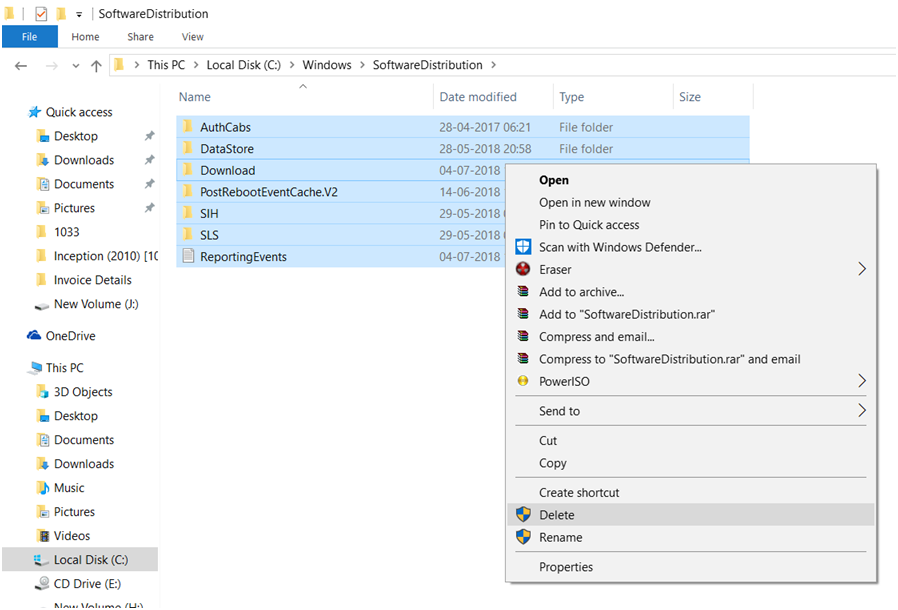
Step 4: Open File Explorer and navigate to C:\Windows\SoftwareDistribution. Then remove all the content in this folder.
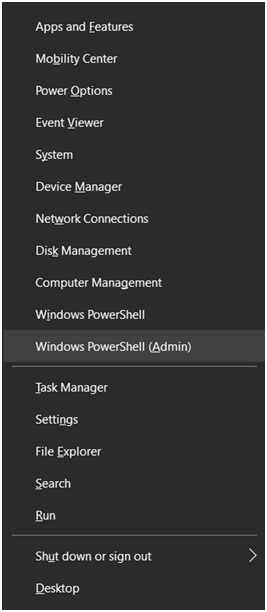
Step 5: Press shortcut key Windows + X and click Windows PowerShell (Admin) to open the Windows PowerShell.
Step 6: Run the following commands one by one to rename the Software Distribution folder to SoftwareDistribution.old:
net stop wuauserv
net stop cryptSvc
net stop bits
net stop msiserver
ren C:\Windows\SoftwareDistribution SoftwareDistribution.old
net start wuauserv
net start cryptSvc
net start bits
net start msiserver
Step 7: Close the Windows PowerShell and restart your computer.
Temporarily turn off firewalls and any antivirus or malware prevention software
Sometimes firewall, antivirus or malware programs, may prevent you from performing a certain task or even run processes. Try to turn them off temporarily, and then attempt to log in again.

 (57 votes, average: 4.82 out of 5)