Many Windows users often get this error Can’t Connect to this Network, while trying to establish internet connection. This could be very frustrating to get this error as it will prevent you from browsing internet.
Here are some methods which you can try to troubleshoot Can’t Connect to this Network issue.
Uninstall Network Adapter
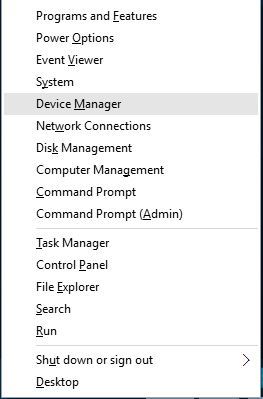
- Press Windows + X and select Device Manager.
- In the Device manager window and expand Network adapters.
- Right-click on your network adapter and select Uninstall device.
- Check Delete the driver software for this device. Then click Uninstall.
Update Network Adapter Driver
- Press Win + X and select Device Manager.
- In Device Manager window expand Network Adapter, then right-click on your network adapter driver software currently used to choose Update driver.
- Click Search automatically for updated driver software.
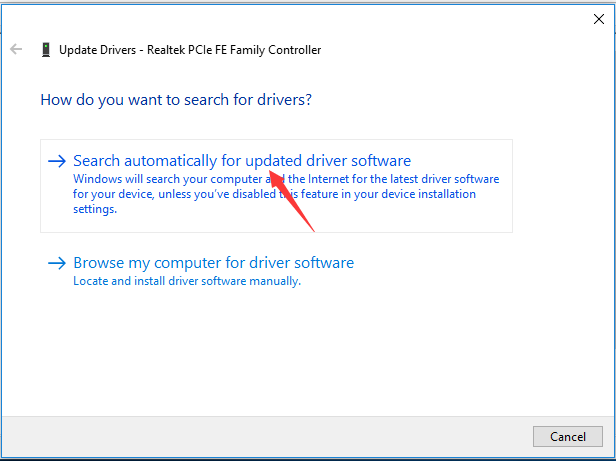
- Just keep on to follow the on-screen instructions to complete updating if there’s one detected.
Reset Your Router
Error “ Can’t Connect to this Network” can occur because your router for some reasons fails to assign appropriate IP address to your computer. In such case try restarting your router to fix this issue. Press the power button on your router to turn it off, after a while again press the power button to start the router.
Run Network Troubleshooter
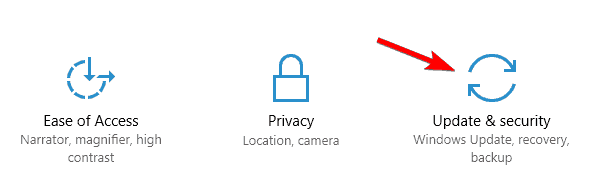
- Press Windows + I to open the Settings app.
- When Settings app opens, go to Update & Security.
- Select Troubleshoot from the menu on the left and then select Internet Connections.
- Now choose Run the troubleshooter.
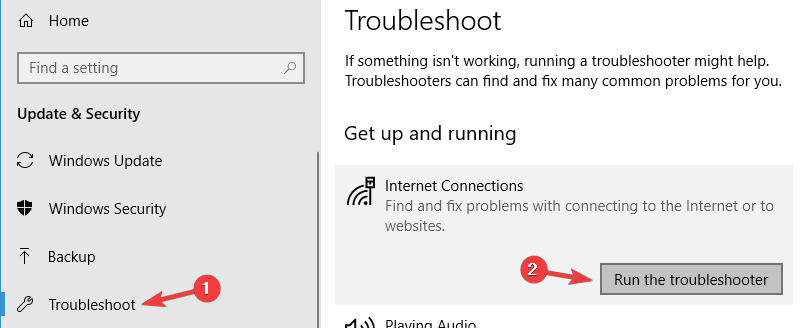
- Once the troubleshooter is finished, check if the problem is still there.
Disable IPV6
- Hold the Windows Key and Press R. Type ncpa.cpl and Click OK.
- Right click your network adapter and choose Properties.
- Uncheck Internet Protocol Version 6 (TCP/IP).
- Click OK then click Close.
- Reboot your PC to save changes.
Disable 802.1 1n Mode
- Press Windows + X and select Device Manager.
- In the Device manager window and expand Network adapters.
- Right click your network adapter and choose Properties.
- Click the Advanced section, then click 802.1 1n Mode and set the Value to Disabled.
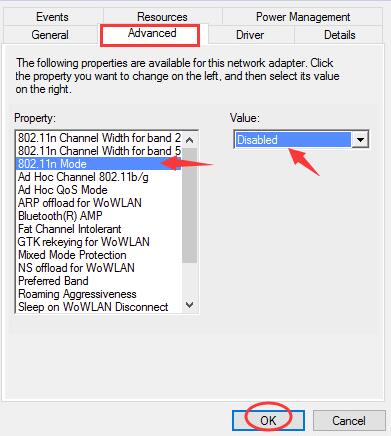
- Click OK.
- Try to establishing your network connection.
Set the Same Security Type for Your Router and Adapter
Set the security type for your router by following the instructions from your router’s instruction manual. wireless connections come with certain security types such as WPA2-PSK (AES) or WPA-PSK (AES).
To check if the computer is using the same security type as being used on your adapter follow the steps given below:
- Open Network and Sharing Center and click the Manage wireless networks.
- Find your wireless network, right click it and choose Properties.
- Go to Security tab, find Security type section and select the same security type that your router is using.
Use Network Troubleshooting Commands
- Go to Start Menu and type cmd in the search box.
- Open Command prompt with Administrative Rights.
- Type the following commands and hit Enter after each one:
netsh winsock reset
netsh int ip reset
ipconfig /release
ipconfig /renew
ipconfig /flushdns
- Reboot to apply changes.
Forget the Wireless Connection
- Open Settings App and go to Network & Internet.
- Go to Wi-Fi section and click Manage Wi-Fi settings.
- Go to Manage known networks, select your Wireless network and click Forget.
- After you’ve done that, connect to the same wireless network again.
Manually Add the Connection
- Open Network and Sharing Center.
- Click Set up a new connection or network.
- Choose Manually connect to a wireless network and click Next.
- Enter the requested information such as network name, security key and security type.
- Click Next to finish the process.
 (0 votes, average: 0.00 out of 5)