When you are transferring some huge files between your computer drive to some external drive you might encounter error The Semaphore Timeout Period has Expired with error code 0x80070079. This error can also occur while transferring flies over a network. This error prevent you from completing the transfer process.
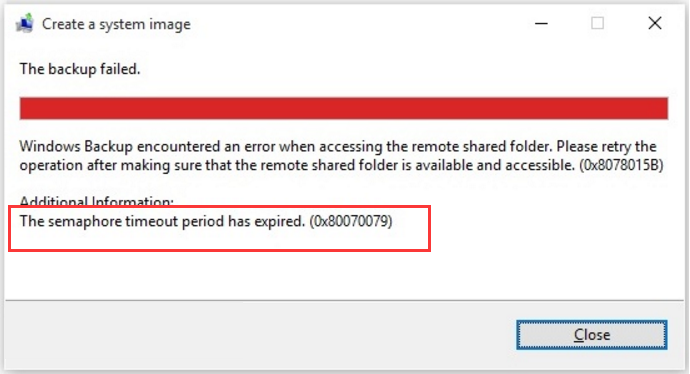
The major reason of this error is that the Windows does not retry the network connection and it is timed out. The issue may also appear while moving files from or to a portable device in which case the reason for the error might be the file system or incompatible port versions or may just be the file transfer limit on your portable drive. You can try the methods given listed below to resolve this issue.
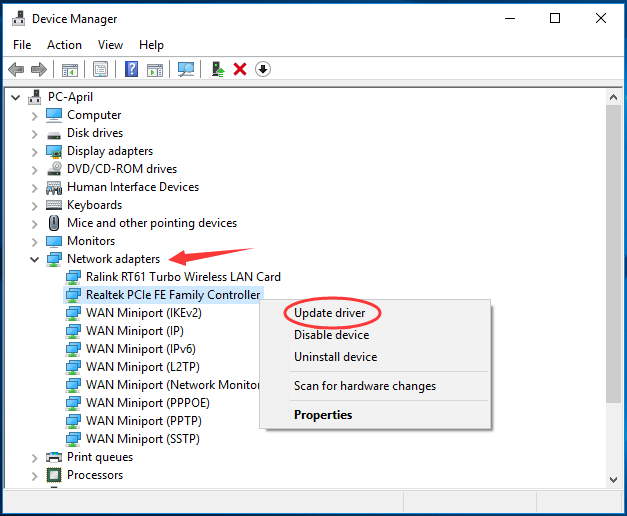
Method 1: Updating Network Adapter Driver
- Press Win + X and select Device Manager.
- In Device Manager window expand Network Adapter, then right-click on your network adapter driver software currently used to choose Update driver.
- Click Search automatically for updated driver software.
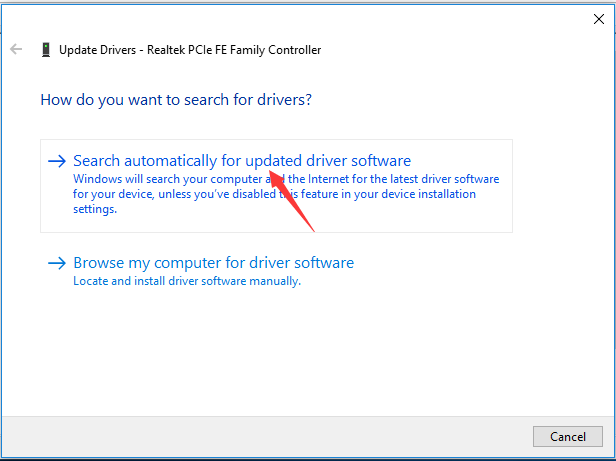
- Just keep on to follow the on-screen instructions to complete updating if there’s one detected.
Method 2: Initiate a Clean Boot
- Press the Win+R hotkeys and bring up the Run box.
- There, enter msconfig and press Enter.
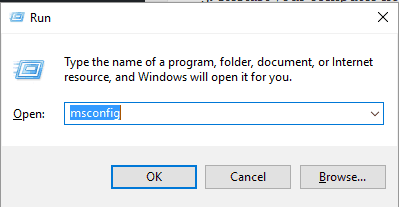
- The System Configuration window will be afterwards displayed on your computer.
- From that window switch to Services
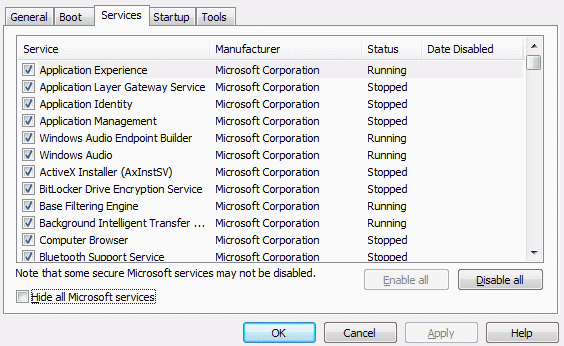
- Check the ‘hide all Microsoft services’
- Now, click on Disable all.
- Save your settings and apply the changes.
- Restart your Windows device.
Method 3: Disable Firewalls and Anti-virus
- Press Win + X and select Control Panel.
- Type Windows Firewall in the search bar located in the top right corner and click Windows firewall.
- Click on Turn Windows firewall on or off.
- Click Turn off Windows firewall (not recommended) in both private and public network settings.
- Click ok.
After you have disabled your firewall, disable your antivirus as well.
Method 4: Convert FAT32 to NTFS
- Connect your portable drive with your computer.
- Right click on the drive and select Properties.
- Check the file system of the drive. If it FAT32 then click Cancel.
- Right click on the drive and select Format…
- Select NTFS from the drop down menu under File System.
- Click Start and for it to finish.
- Once the formatting is finished, transfer the files to the drive and try copying them again.


 (95 votes, average: 3.32 out of 5)