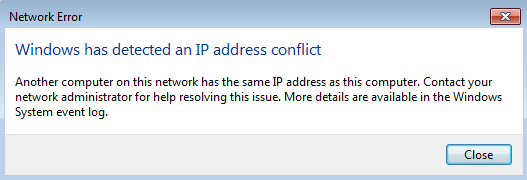
Many users are facing an error Windows has detected an IP address conflict. IP address is your computer’s unique address which it gets when it connects to a network. It is type of computers id which is used to identify it among all other computers. The error appears on your screen with the following message:
Another computer on this network has the same IP address as this computer. Contact your network administrator for help resolving this issue. More details are available in the Windows System event log.
As you can see in the error message that some other computer is also having the same IP address as your computer, on the same network. It may be caused because of a glitch with your PC Settings or Router. You can try the following solutions to troubleshoot this problem.
Flush DNS
- Press Windows + X and click on Command Prompt Admin.
- In the Command prompt window type the following command and hit Enter:
ipconfig/flushdns
- Reboot your PC.
Restart Your Router
Error “Windows has detected an IP address conflict” can occur because your router for some reasons fails to assign appropriate IP address to your computer. In such case try restarting your router to fix this issue. Press the power button on your router to turn it off, after a while again press the power button to start the router.
Use Netsh Winsock Reset Command
- Go to Start Menu and type cmd in the search box.
- Open Command prompt with Administrative Rights.
- Type the following commands and hit Enter after each one:
ipconfig /flushdns
nbtstat –r
netsh int ip reset
netsh winsock reset
- Reboot to apply changes.
Disable and Re-enable Network Adapter
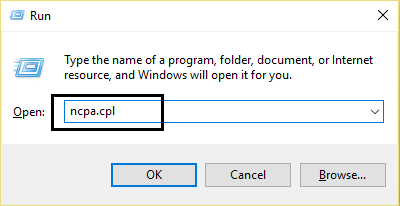
- Press Windows + R to open Run dialog box, then type ncpa.cpl and hit Enter.
- Right-click on your wireless adapter and select Disable.
- Again right-click on the same adapter and this time choose Enable.
- Restart your computer.
Remove Your Static IP
- Press Windows + R to open Run dialog box.
- Type ncpa.cpl in the box and hit Enter to open Network Connections.
- Right-click on your Network Connection and choose Properties.
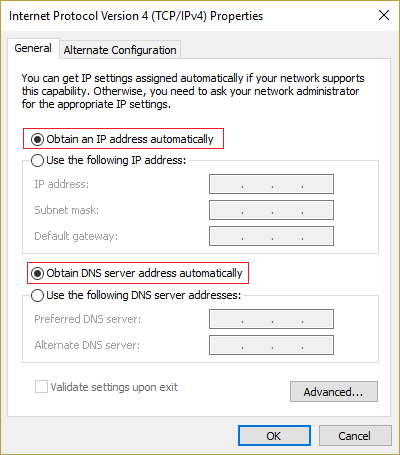
- Double-click on Internet Protocol Version 4(TCP/IPv4).
- Check mark Obtain an IP address automatically and Obtain DNS server address automatically.
Release and Re-new IP Address
- Type cmd in the search box from the Start menu. Right-click Command Prompt and choose Run as administrator.
- Type the following commands and hit enter after each:
ipconfig /release
ipconfig /renew
- Now check if the error still exist.
Disable IPv6
- Hold the Windows Key and Press R. Type ncpa.cpl and Click OK.
- Right click your network adapter and choose Properties.
- Uncheck Internet Protocol Version 6 (TCP/IP).
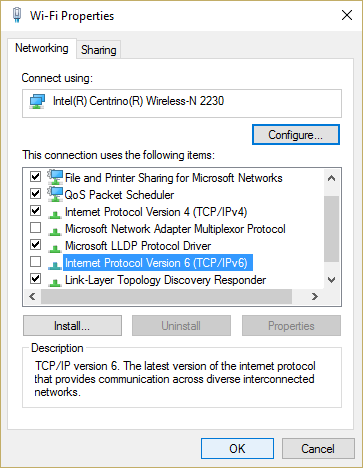
- Click OK then click Close.
- Reboot your PC to save changes.
 (0 votes, average: 0.00 out of 5)