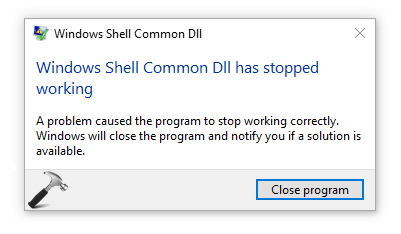
There are many problematic errors in Windows and Windows Shell Common DLL has stopped working is one of them. DLL stands for Dynamic Link Library and it contains data and functions which other programs use. Windows Shell Common DLL has stopped working indicates that Windows Shell Common DLL has crashed due to some reasons.
Windows Shell Common DLL has stopped working error can stop the user from using the basic Windows features and functions which is quite troublesome. So, below are some methods given to troubleshoot Windows Shell Common DLL has stopped working error.
Method 1: Reinstall Audio Driver
- Press Windows + X and choose Device Manager from the list.
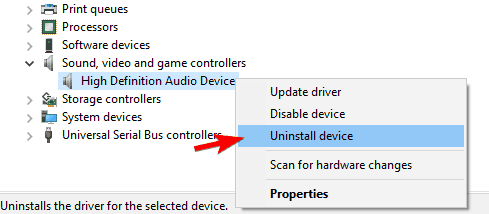
- Locate your audio driver in the Device manager window. Right click on it and select Uninstall device.
- If there is an option to Remove driver software for this device option select it.
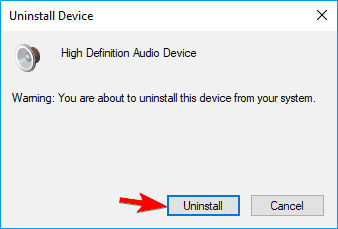
- Click on Uninstall.
- Now Restart your computer, Windows will automatically install the missing drivers.
Method 2: Update Device Driver
- Press Windows + X and choose Device Manager from the list.
- Locate your audio driver in the Device manager window. Right click on it and select Update driver.

- Click on Search automatically for updated driver software.
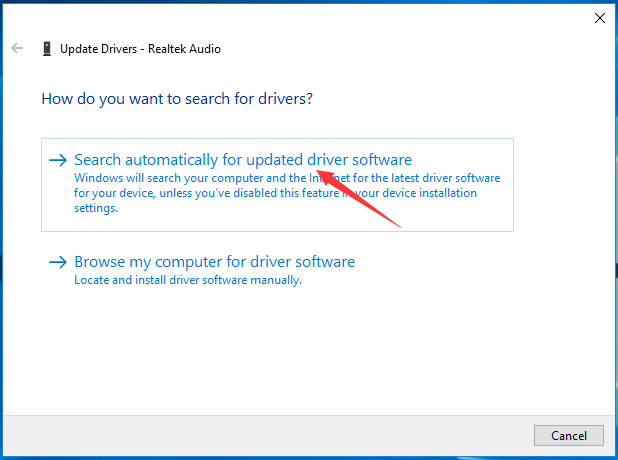
- Windows will detect update automatically.
Method 3: Run System File Checker
- Type cmd in the search box and right click on Command Prompt and select Run as administrator.
- Type sfc /scannow and press Enter.
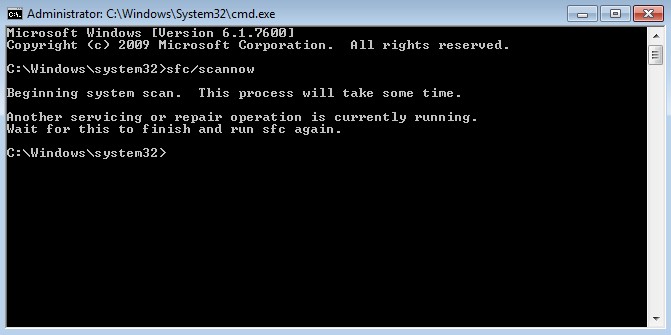
- Wait for the scan to complete.
Method 4: Disable Audio Effects
If there are any effects you have applied on the audio like changing modes in equalizer, it can also be the cause of Windows Shell Common DLL has stopped working error. Turn off all the audio effects.
Method 5: Use Windows Powershell
- Press Windows + X and select Windows Powershell (Admin).
- Click on
- Type the following command and press Enter:
- Set-ExecutionPolicy -ExecutionPolicy Unrestricted -Scope CurrentUser
- Close Powershell window and Retsart your PC.
Check if the Windows Shell Common DLL has stopped working error is gone.
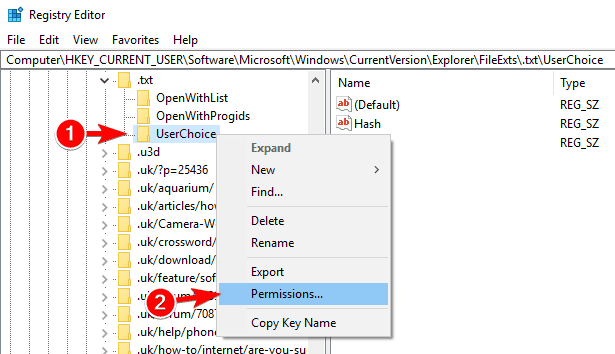
Method 6: Change the Security Permissions of UserChoice Key
- Press Windows Key + R and type regedit in the Run window and hit Enter.
- Navigate to Computer\HKEY_CURRENT_USER\Software\Microsoft\Windows\CurrentVersion\Explorer\FileExts\.txt\UserChoice
- Right click on UserChoice key and select Permissions.
- If Group or user names section is empty, click on Add button to add permissions.
- In Enter the object names to select field enter Administrators and click on Check Names. If everything is in order, click on OK.
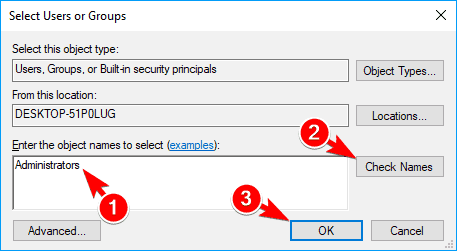
- In the Group or user names list, Administrator will be added.
- Choose Administrators from the list and check Full Control in the Allow column.
- Click OK and then Apply to save changes.
- After performing the above steps your Windows Shell Common DLL has stopped working problem should be resolved.
 (0 votes, average: 0.00 out of 5)