Windows error 0x80070017 is among the most typical Windows update errors. It generally happens when users install the most recent updates on their computers or when they update their OS version.
Error Message: Windows cannot copy files required for installation. The file may be corrupt or missing. Make sure all files required for installation are available, and restart the installation. Error code: 0x80070017.

Windows Update Error 0x80070017
Getting this error generally bring a big trouble for the user, so if you get this problem on your computer system, you must think of taking immediate steps to repair error code 0x80070017 since it will set off numerous major problems and difficulties:
- Windows system cannot be installed.
- Windows system failed to upgrade.
- Computer system start-up or shut-down error.
- Blue Screen of Death errors.
- Cannot change to installed other Windows system version on the computer.
How to Fix Windows Update Error 0x80070017
Method 1: Run Windows Update Troubleshooter
If you are facing the error With Windows update, then you can make use of the Windows Update Troubleshooter.
- Press the Windows start bar in the bottom-left corner, search for “troubleshoot” and access the Troubleshoot tool.
- Select Windows Update, then click on Run the troubleshooter.
- If the troubleshooter manages to find an underlying problem, you will be prompted to restart.
- After the restart, return to the Windows Update menu and attempt to re-apply the update.
Method 2: Scan and Restore Corrupted System Files
- Open command prompt as admin.
- Type sfc /scannow and press Enter.
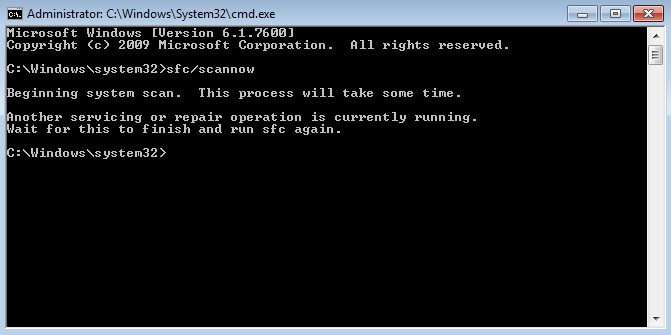
- Wait for the System File Checker being activated and restoring the corrupted system files.
- When it is finished, restart your computer to see if the error has been fixed.
Method 3: Update manually via Windows Update Catalog
- Initially, go to Windows update and recognize the update that is failing to install and copy the KB number. You’ll require later to query the Microsoft Update Catalog.
- Next, visit the Windows Update Catalog website and paste the KB number into the search bar.
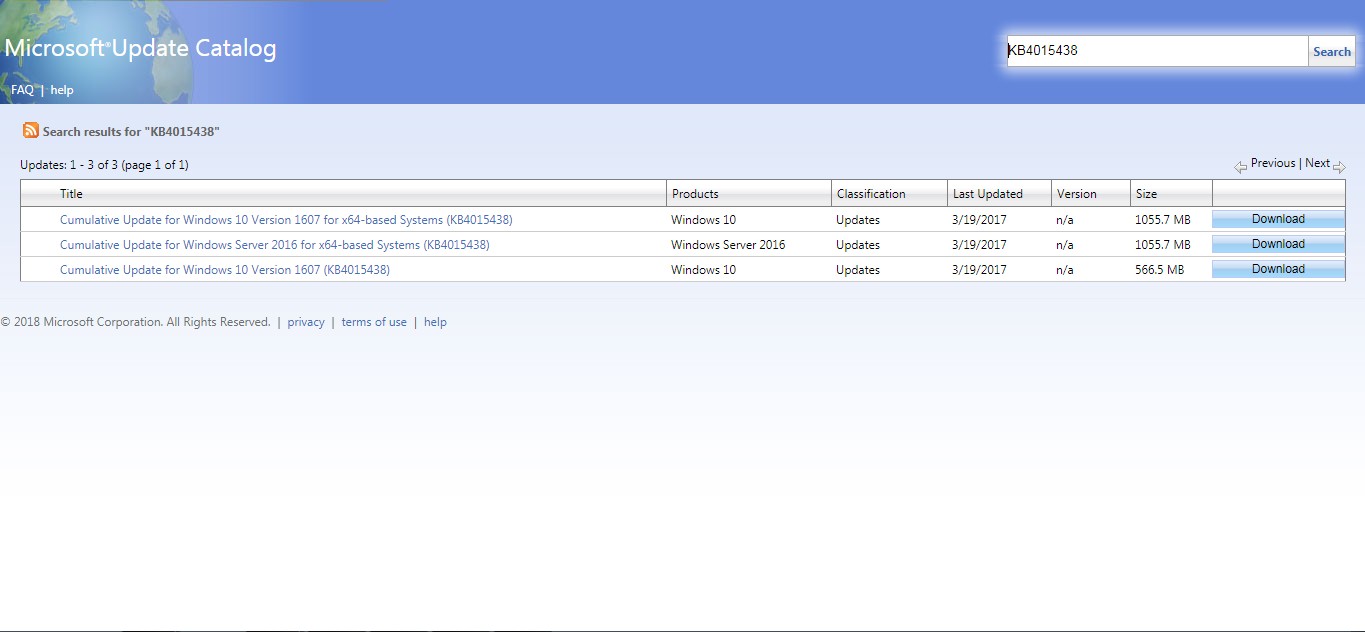
- Now click the Download button connected with the architecture of your system. Do not download the x64 version if you have a 32-bit architecture given that it will not install properly.
- Once the .msu file is downloaded to your system, open it and follow the on-screen prompts to install it.
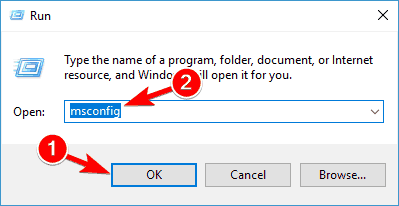
Method 4: Perform a Clean Boot
- Press Windows Key + R and enter msconfig. Now press Enter or click OK.
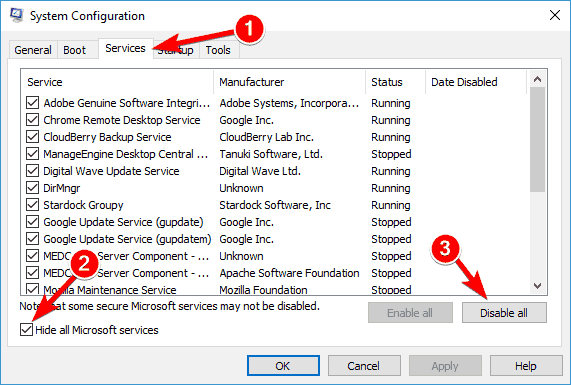
- System configuration window will appear. Go to Services tab, check Hide all Microsoft services and click Disable all button.
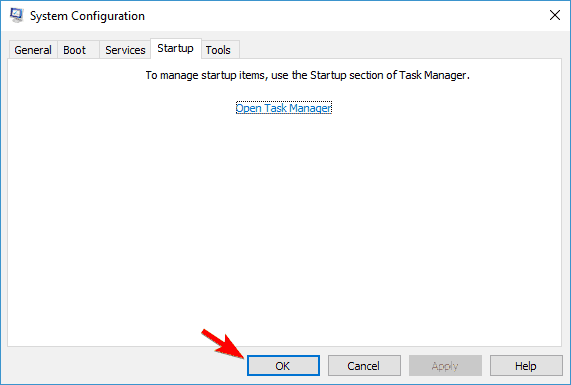
- Now go to Startup tab and click Open Task Manager.
- When Task Manager opens, disable all startup applications. To do that, right-click the desired application and choose Disable from the menu.
- Once you disable all startup applications, go back to System Configuration window and click Apply and OK. Restart your PC.
- After your PC restarts, try to download the update again.
Method 5: Reset your Windows Update Components
In Some Cases your Windows Update components may not be working appropriately, which can result in error 0x80070017. Nevertheless, you can fix the issue by resetting Windows Update components.
- Open Win + X Now select Command Prompt (Admin).
- When Command Prompt opens, run the following commands one by one:
net stop wuauserv
net stop cryptSvc
net stop bits
net stop msiserver
Ren C:\Windows\SoftwareDistribution SoftwareDistribution.old
Ren C:\Windows\System32\catroot2 Catroot2.old
net start wuauserv
net start cryptSvc
net start bits
net start msiserver
- After running these commands, all related Windows Update services will be restarted and the problem should be resolved.
Method 6: Installing Windows from a Flash Stick
- Download the Media Creation Tool from Microsoft’s website.
- Start the Media Creation Tool and hit Accept to agree to the license terms. Then select Create installation media for another PC and hit Next.
- In the next window, you’ll need to select your Language, Windows version, and Architecture.
- Select USB flash drive and hit Next.
- Now insert your flash USB disk, choose it inside the Media creation tool and hit Next to continue. You may have to hit refresh a couple of times up until it becomes visible.
- The software will automatically format your flash drive, download the Windows image and make it bootable.
- At the end of the process, your flash drive should become bootable. Restart your device and re-install Windows from it.
Method 7: Run a chkdsk Scan
If the hard drive has its file stability jeopardized, it is possible to use built-in Windows CHKDSK utility to scan the disk and repair the file system errors.
Here are the steps to run CHKDSK:
- Open Command Prompt as administrator.
- When Command Prompt opens, enter chkdsk /f X:
Replace X with the drive you want to scan.
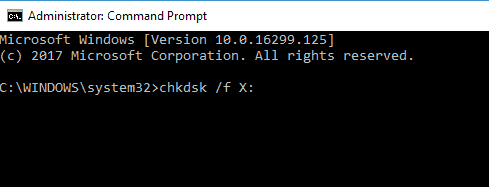
- Now you’ll be asked if you want to schedule a chkdsk scan once the PC restarts. Press Y and restart your system.
Once the scan is finished, check if the problem still appears.

 (56 votes, average: 4.69 out of 5)